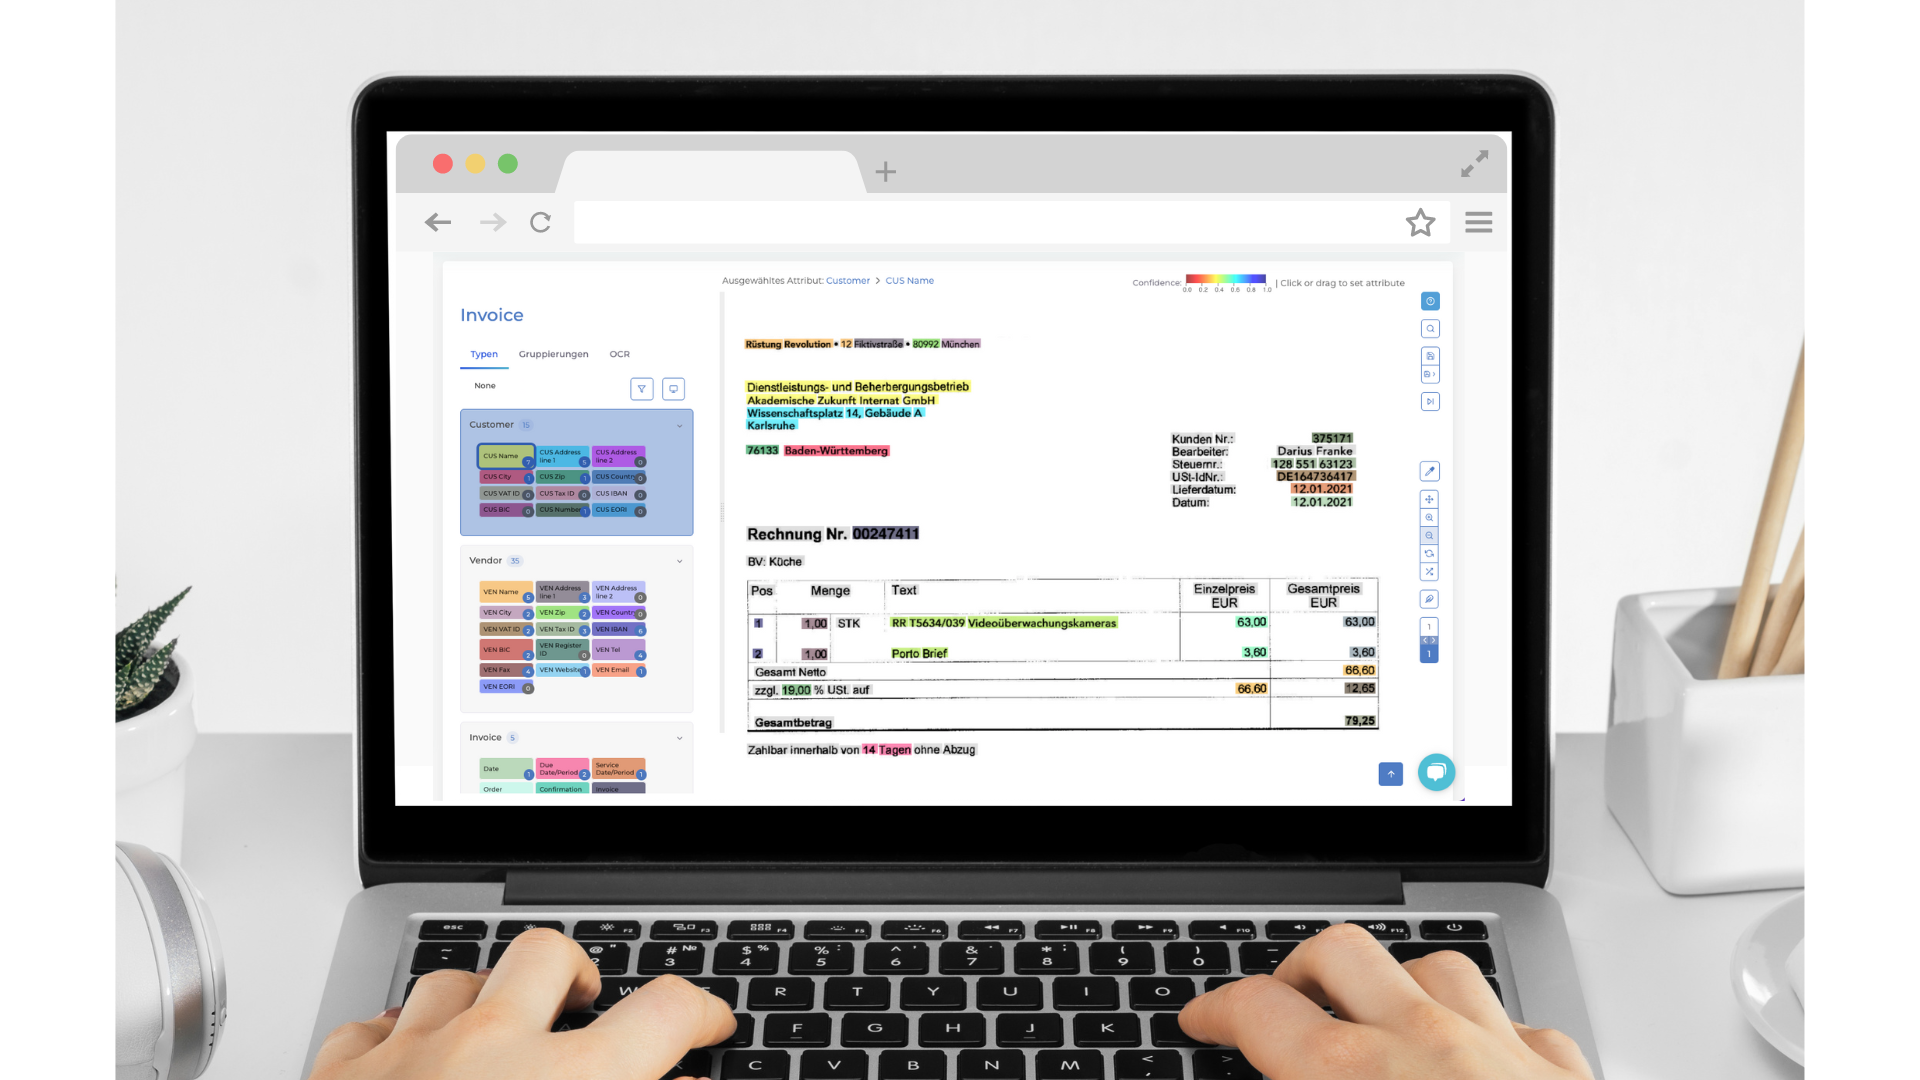
When you start with the annotation, the uploaded invoices are displayed one after the other. Our generic invoice model already makes a pre-selection and suggests suitable content for extraction – so you don’t have to start annotation completely from scratch.
Overview
On the right side you will find the toolbar, where all the tools necessary for annotation are available.
- A: Search document for specific terms.
- B: Save document with the current annotation.
- C: Save document with the current annotation and continue with the next document.
- D: Skip the selected document.
- E: Copy the type of a value and transfer it to another.
- F: Move or shift the document.
- G: Zoom in the document.
- H: Zoom out the document.
- I: Align the display to the width of the document.
- J: Align the display with the height of the document.
- K: Change view of boxes (attribute, confidence level, attribute & confidence level).
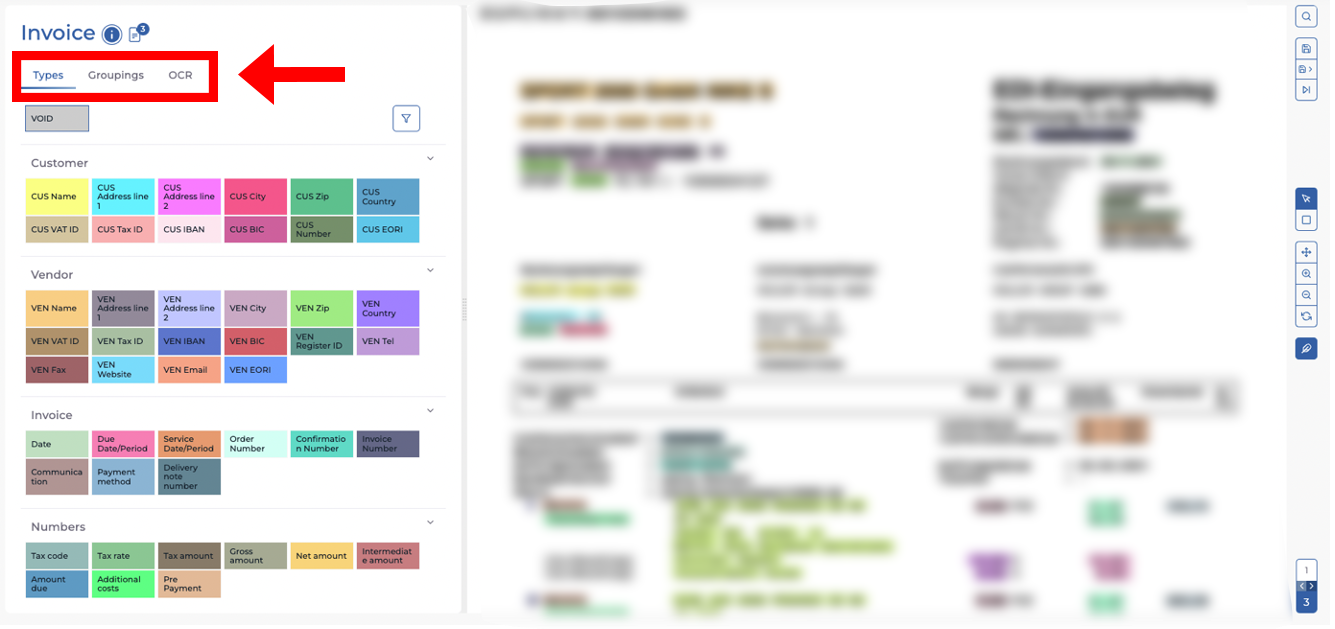
The annotation goes through the three steps “Types”, “Groupings” and “OCR”, which you can select on the left side.
We will now describe these three steps in detail and explain what you should pay attention to so that the AI can learn in the best possible way.
Types
Here you will find the contents of your invoice divided into attributes. Thus, under “Customer” are all the associated values such as the name, address or bank details of the customer.
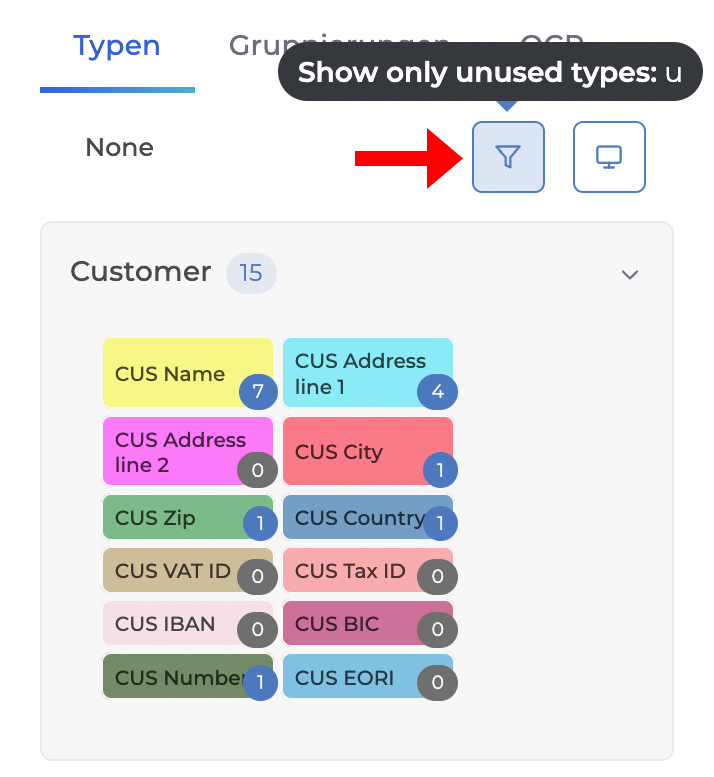
Filter function
With the filter you can display which values have not yet been assigned.
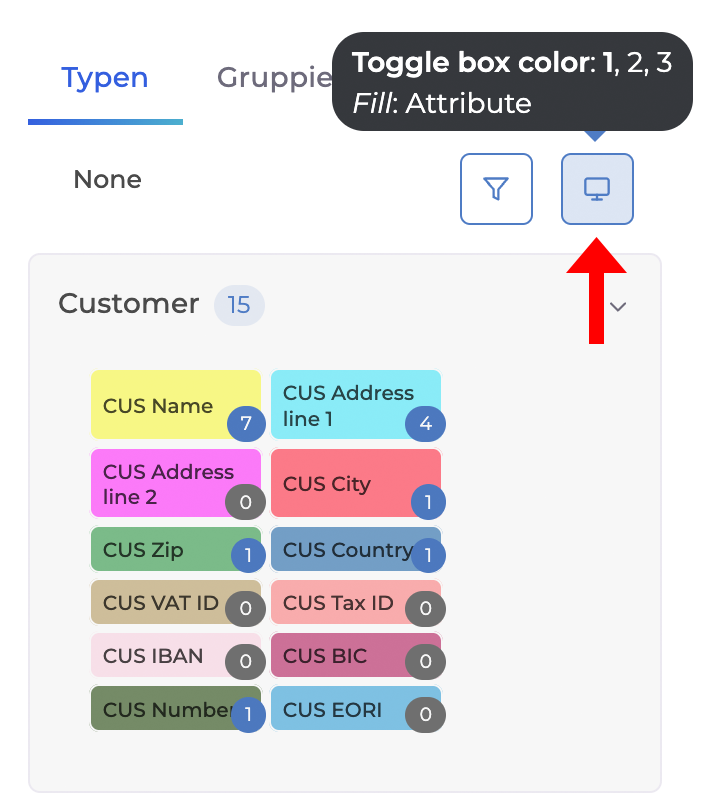
Change the view
Using the screen-button, you can view the confidence level of the AI in the annotation of each box.
Clicking the button gives you three options for viewing the annotation.
1 shows the attributes, 2 the confidence level and 3 a combination of both (the filling of the box shows the attribute and the border the confidence level).
Correction
If the AI has not assigned a field to the correct attribute or value, you can correct this by selecting the correct value. The colors make it easier to see which content has been assigned to which values.
Groupings
In the groupings, the correlations between two or more types are defined, which are colour-coded.
You can add more groupings by clicking on the plus. You can also remove groupings suggested by the AI.
The most common groupings on an invoice are:
- IBAN & BIC: Since there are three to four different IBAN and BIC on some invoices, it is important to show the AI which payment information belongs together.
- Discount: All contents related to the cash discount should be within one grouping (e.g. quantity or deadline).
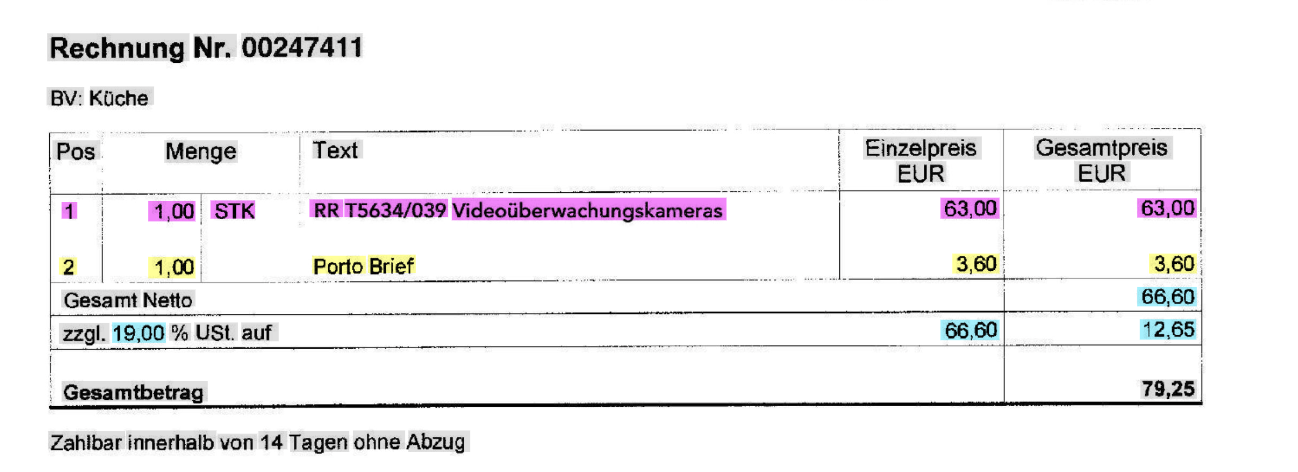
- Line items: Invoices usually contain several items or services, which are then listed in so-called line items. A grouping should be created for each item.
- Numbers: Related numbers such as the tax rate, tax amount and net amount should be assigned to a common grouping.
- Commercial register: Since the trade register number depends on the city, these two values should be grouped together.
OCR
With the help of OCR (Optical Character Recognition), the AI reads the content of the invoices. In this area you can change the size of the boxes, insert new boxes and delete existing ones.
You can also correct misspelled words by using the toggle tooltip on the right.
After you have gone through all three steps, you can save the document and annotate the next one.
If you still have questions or need support, please do not hesitate to
contact us.