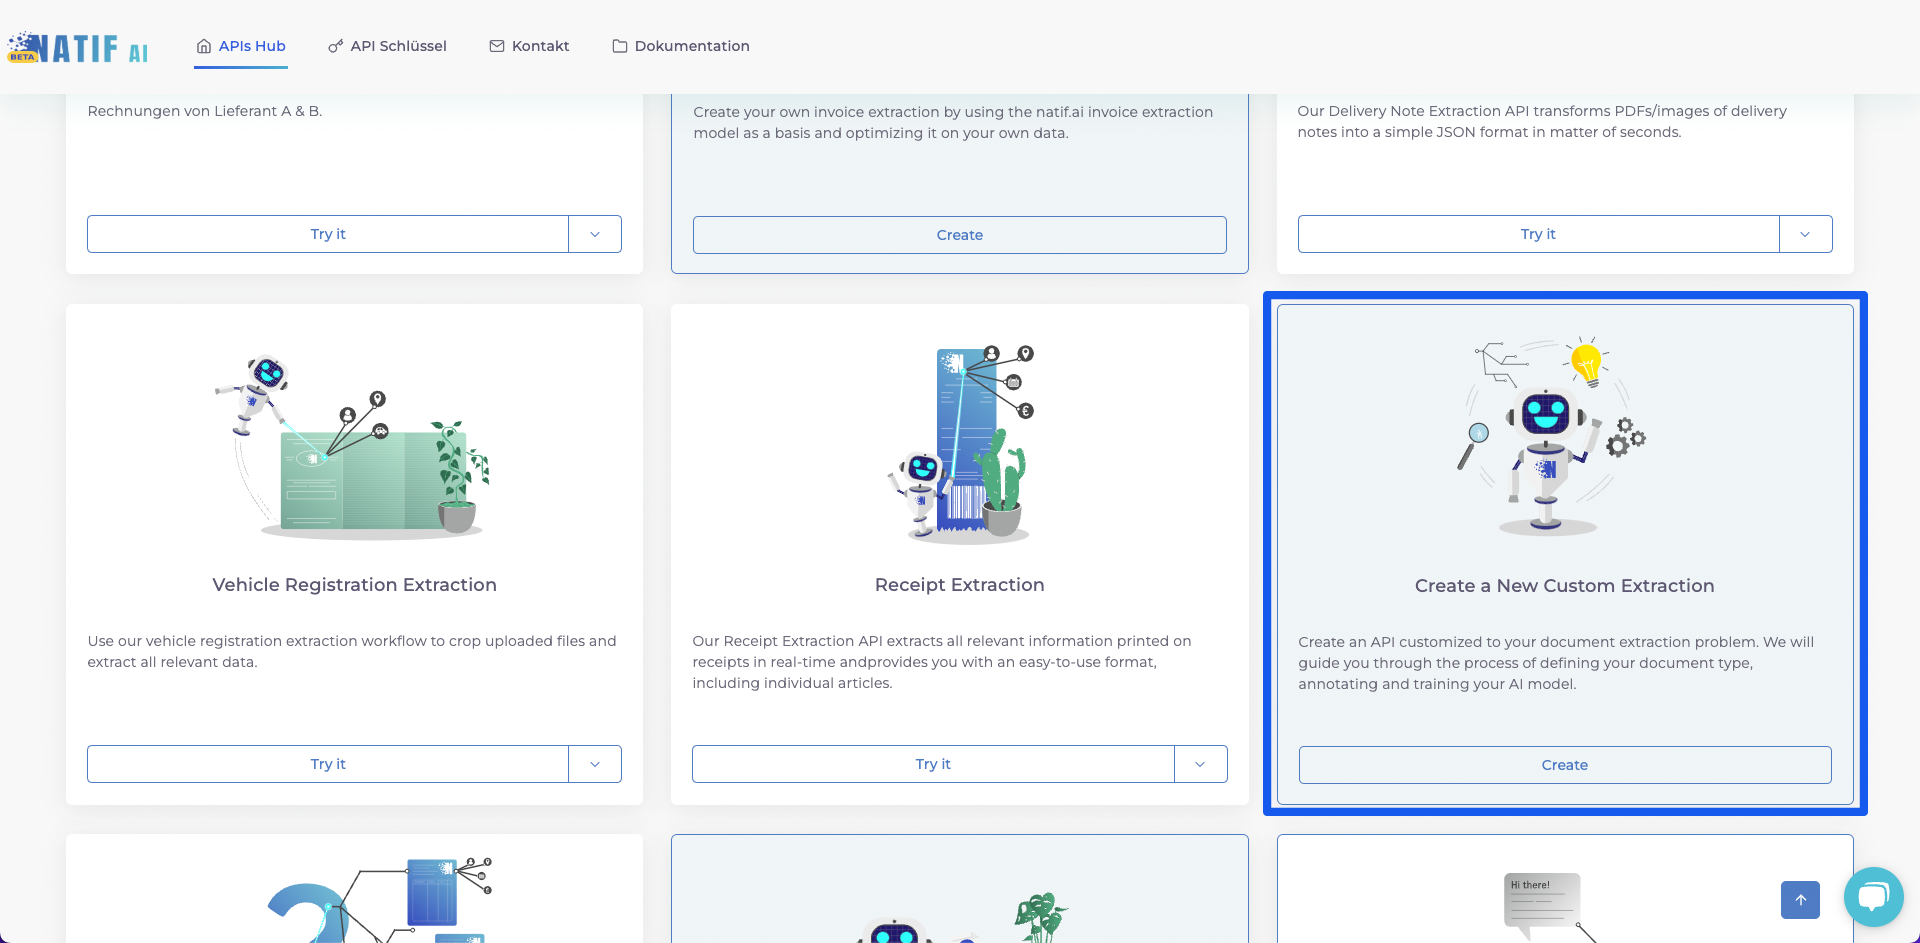
At natif.ai, we have many models that extract relevant information from documents such as invoices, receipts, vehicle registration, and delivery notes. For each of these types of documents, our models will extract the specific information needed for further processing, such as tax number, bank account, etc.
However, we understand that your business is not limited to these document types, and that extracting information from other documents will allow you to automate many more business processes. So instead of waiting for us to build a model for every document type – which may or may not include all the fields you want – you can get in the driver’s seat and build your own model!
Our new extraction model creation wizard allows you to build a model that extracts the information you specify from the documents you want. In this post, we’ll walk you through
the feature and show you how extracting information from your documents could not be easier!
1. Give your model a personality
Distinguish your model from the other APIs on your hub. You can specify the model name, a description, and an image.
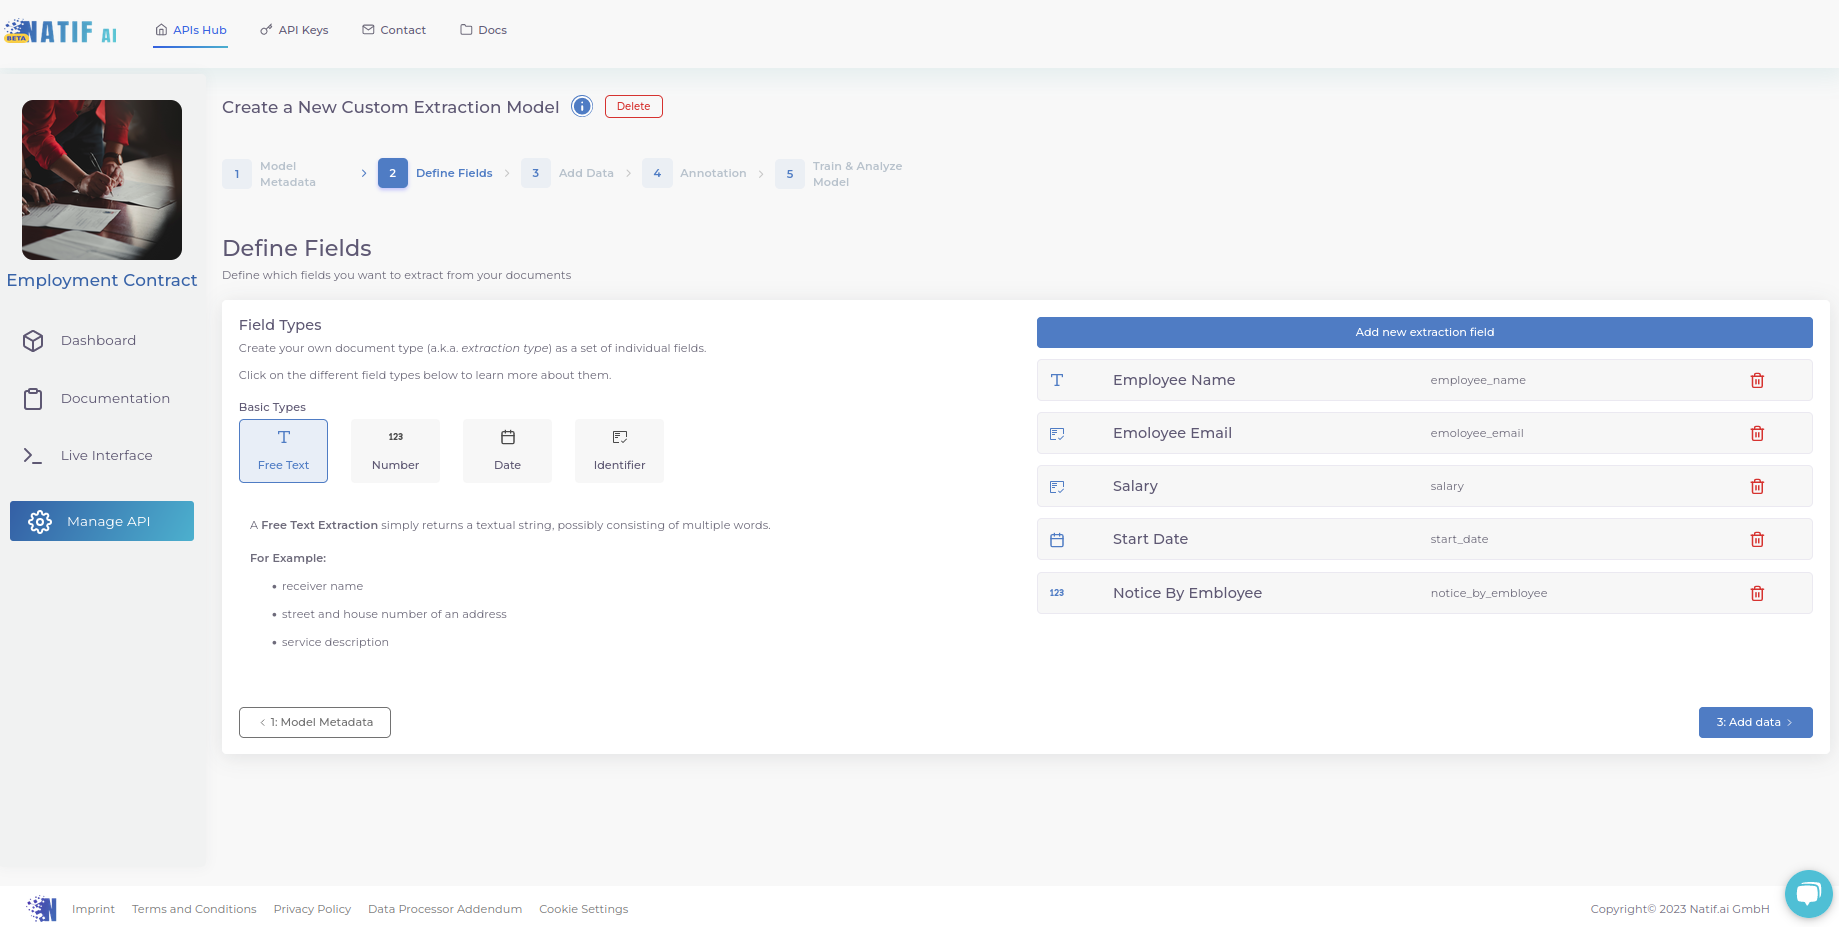
2. Specify which fields you want to extract
Tell the model what kind of information you want to extract. Give each field a name and specify its type (i.e., is it a text? a number? a date? an identifier?). The meaning of each type is further explained on the left, as shown in the screenshot.
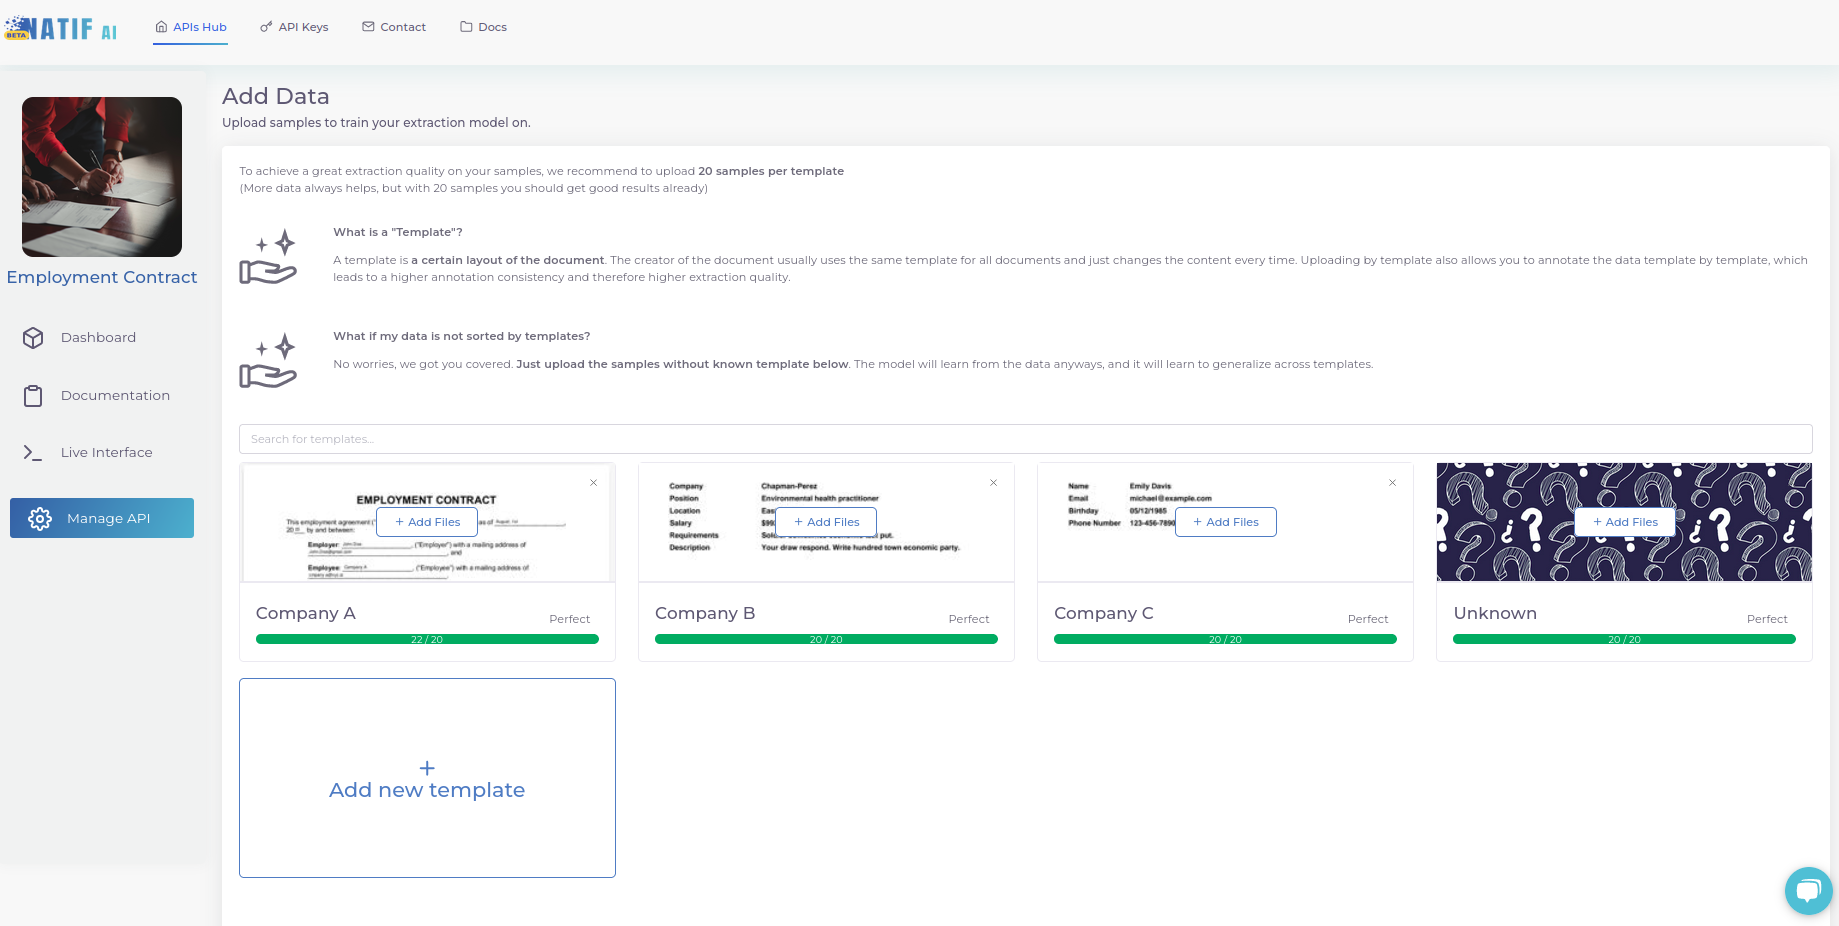
3. Upload your documents
Ideally, upload multiple documents for each template you receive regularly. If your documents are very diverse and look different every time, you can also upload them without assigning a known template and the AI will learn to generalize across all layouts.
If you upload files template by template, we will make sure that you annotate template by template to achieve the highest possible annotation consistency. Always make sure you upload enough documents for the model to learn as much as you want it to learn, especially if you upload examples without a template!
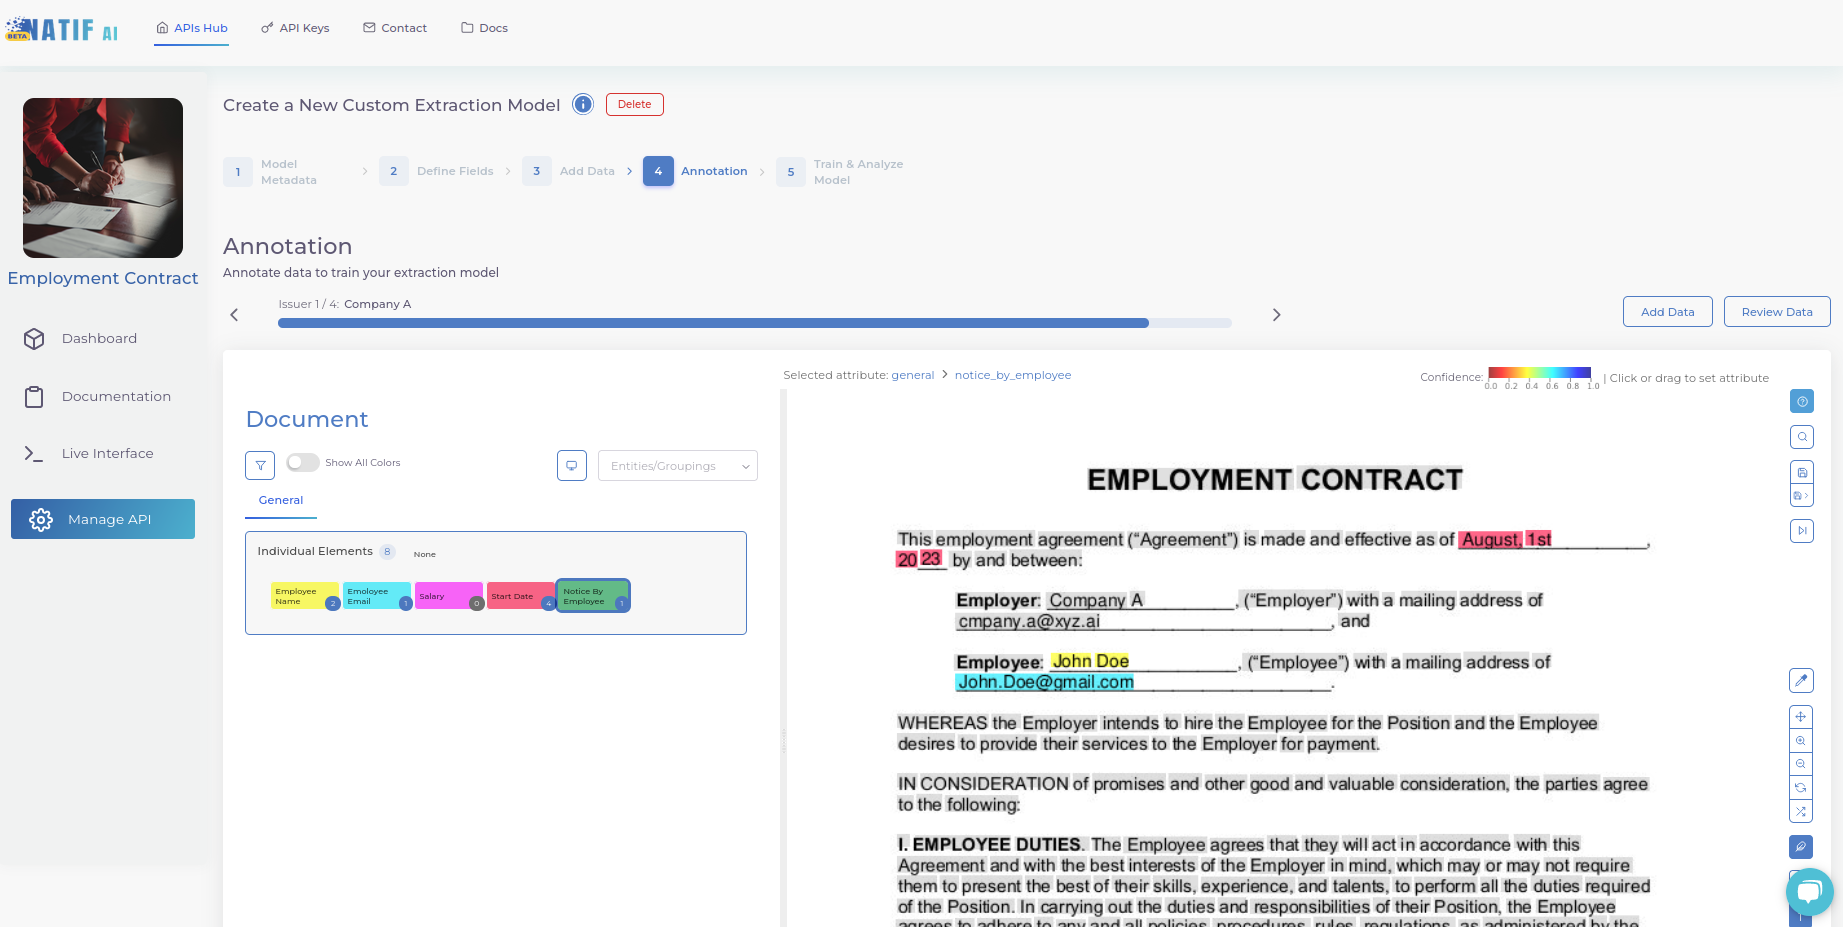
4. Annotate your documents
Our annotation tool captures all the text in your documents using high-quality optical character recognition (OCR). All you need to do next is assign the appropriate labels to each word/phrase. Simply select the entity from the list on the left, then select the words that represent that entity on the right. You will be greeted by a tutorial pop-up that will show you how to efficiently navigate the annotation tool.
When you are finished annotating the current document, save and move on to the next document until you have finished annotating all of your uploaded documents.
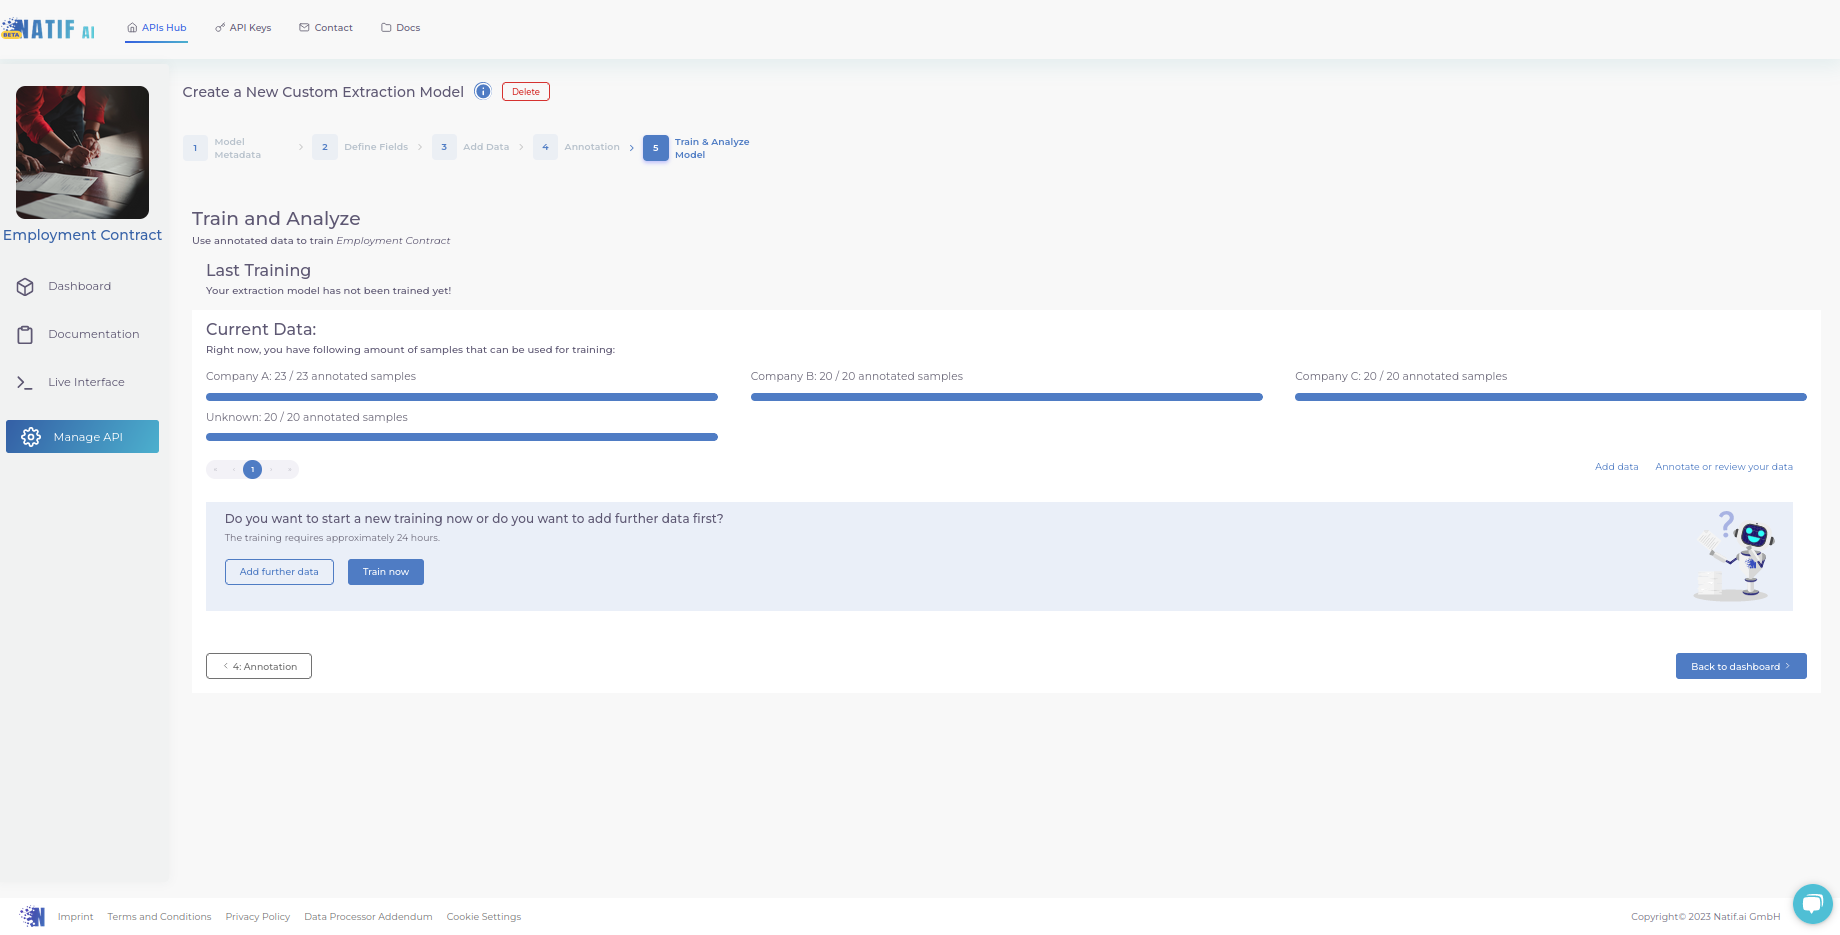
5. Train your model
This is the final step where you click ‘train now’ and wait for the model to train on your annotated files. However, you can already start integrating the API. You will see the results as soon as the model has finished training – we will then send you an email.
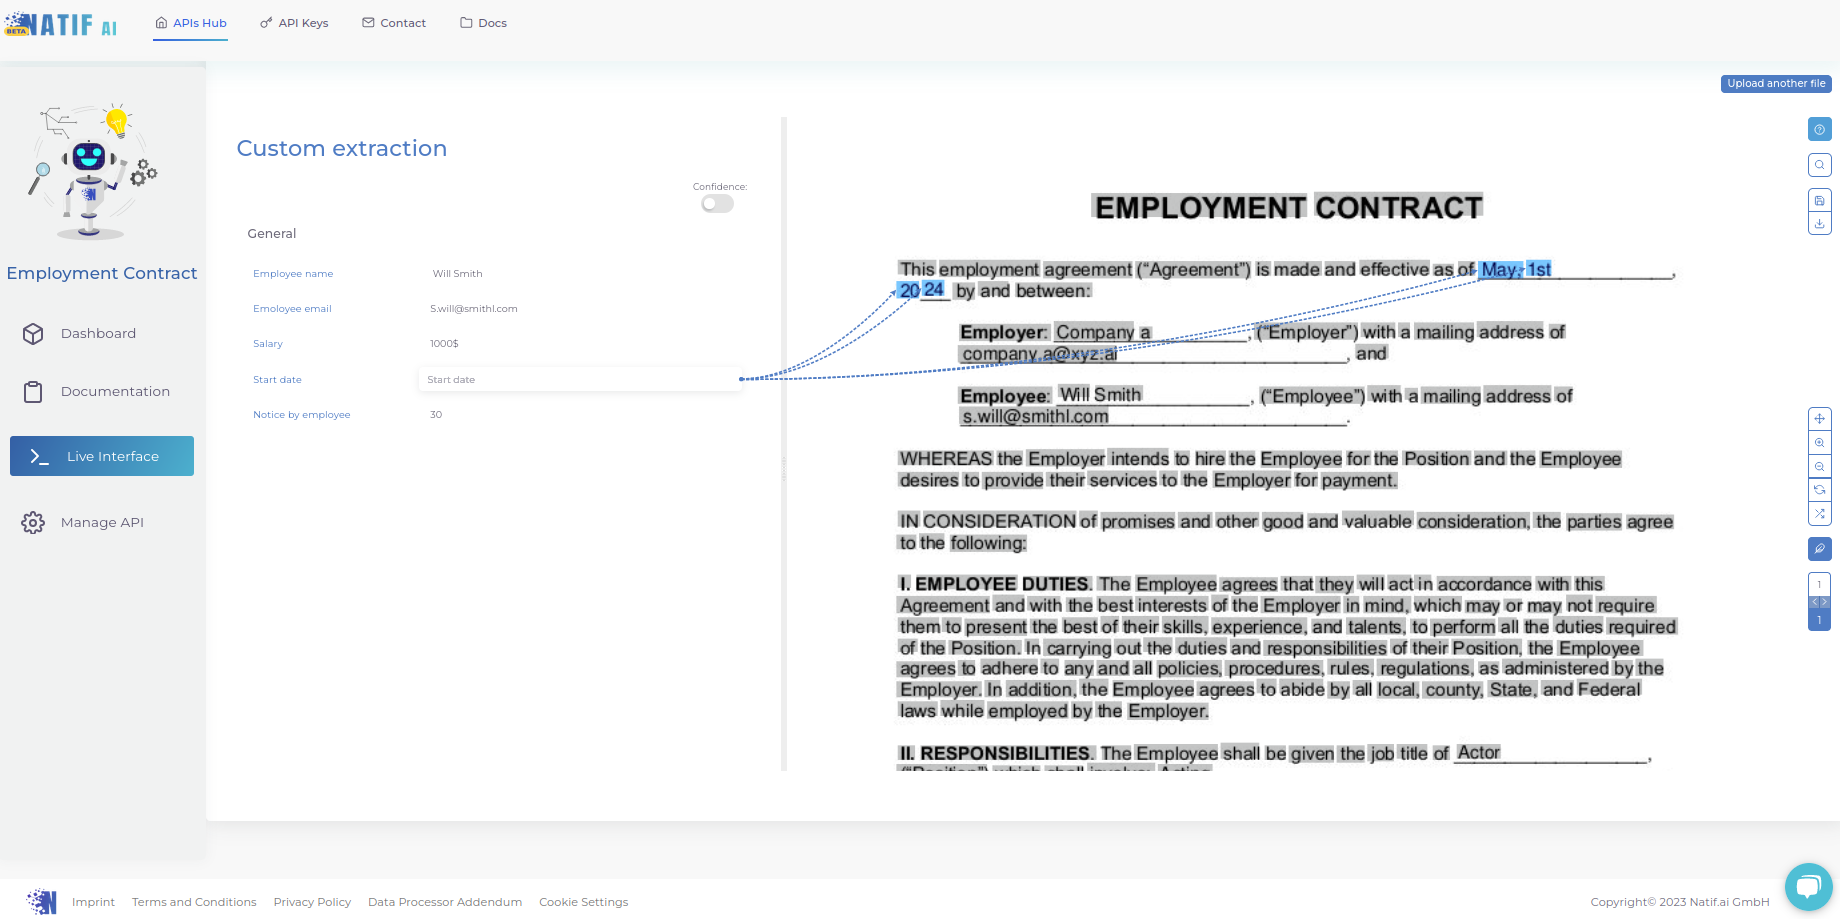
That’s how you train your own extraction model on any type of document! You can also test the trained model in the Live Interface, in which you will see the list of extracted entities. You can simply click an entity and an arrow to its all instances will appear.